Behind the scenes at Homer + Howells

The pattern essentials on Susan’s work bench.
Last month we posted a reel of Susan’s studio on our Instagram. We had some lovely messages from our followers enjoying a wee peek into Susan’s workroom. So, we thought we’d share a more in-depth look into her workspace and how she works.
This is where all the Homer + Howells patterns and development toiles are made and where Susan cuts patterns as a freelance pattern cutter.
Hi, Susan here:
It’s been a bit of a journey getting my workroom set up to where it is now. I’m always adding or moving things around, but I’d say I’m almost there.
When I first started working from home 3 years ago, I shared the space with my husband. That didn’t last long: no one likes listening to a sewing machine while they’re on a skype business call.
I work full time from my home studio so it’s extra important for me, for efficiency and for my wellbeing, to make sure I’m working safely and to my optimum.
Room To Move
I’m really lucky. I have a good-sized space to work in. I have an amazingly large workbench that gives me space to do large patterns; an allocated sewing corner and plenty of room for storage. My bench is a new investment and its big! There isn’t much room for moving around now but it’s really improved my work productivity. No more crawling on the floor cutting out all the massive pattern pieces or samples which happened more than I’d like to admit.
It’s Got To Be The Right Height
I’m only 5” tall and can’t reach across my bench to work properly if it’s set up too high. This used to happen all the time in industry and I would have to ask to get my table adjusted. In one job they didn’t want to alter the table (which was fair enough, people move on) instead they made me a little raised platform to stand on. I was pretty happy with that.
For me, it’s important that my tabletop is at waist height so I can stretch across and have enough reach to cut/work without straining my back or shoulders. I put in a special request to have my bench made a few cm’s lower than the standard height (luckily at no extra cost) and it’s been a deal changer already.

The new arrival!!!!!

All set up and ready to go.
Trestle tables are great for this too. My old one was from IKEA and I would lift or drop the tabletop depending on what I was working on. I’ve got my overlocker and laptop parked on it now. It’s good to know it’s still there and I can raise it up again if I need some extra space for cutting.
Tools
As a pattern cutter, it’s so important to have the right cutting table and tools. Especially if you’re working with them frequently and for long periods of time.
I like to keep things simple when it comes to drafting patterns. I make my patterns manually and like to keep my table clear of clutter when I’m working. Generally, a few essential tools: a 4H pencil (It doesn’t smudge and keeps patterns clean), my set square and a meter rule. Also on my pattern desk is a drill hole, awl, tracing wheel, notches, a couple of pattern weights and a tape measure. Don’t get my started on tape measures. I like mine to have both centimetres and inches written on both sides. It’s really hard to find these in the UK now, I had to order my last ones in from Germany.
I have a few pairs of pattern notches too. One set for paper and another for card. Pattern notches are so important. They’re basically a map for sewists or machinists to put their garment together. I always take extra care to make sure mine match and like to have double notches on the back so it’s always clear whats the front or the back of the garment.

Pattern everyday essentials
Pattern Drafting
I cut most of my first patterns on spot and cross paper. It helps to make sure everything is lined up and square. Plus, it comes in some lovely wide widths so make life easier when you’re making big patterns.
For templates, manual grading and outerwear I use card. I actually prefer working this way. My first industry jobs were working on card and it always feels more natural to me.
Susan Scissorhands
How many pairs are too many? I think like most makers I’m pretty precious about who touches my shears.
I like to loosen the bolt slightly on my card shears and keep them quite loose. It makes it easier to get through multiple layers of card when I’m cutting, especially when I’m manually grading.
I have (ahem) a few pair of fabric shears and specific ones for different types of fabric. If I know I’m going to lay delicate fabric on paper for more accurate cutting I have some special shears for that too.

Some of my fabric shears and sewing snips.
Is anyone else always loosing things? When I’m working I have snips by my machine, on my iron board and on my cutting table.
In my early career, I used to cut coat samples for our sample machinist. I was taught with big heavy scissors and always had to do a lay before cutting to ensure I didn’t waste any fabric. I started drawing round my pieces using wax or chalk fabric but soon moved onto just weighing the pieces down and cutting away.
Top tip from my first boss was to fold your fabric in half (right sides together, selvedge to selvedge) and always have the fold running along your table edge so you’re cutting down the table then your pieces are always close to you. Also, never move or lift the pieces or fabric while you’re cutting and always move around the table while you’re cutting. This way your fabric stays flat and true to pattern.

Cutting our Maud trousers. Before cutting I always make sure my pattern pieces are true to the grain. From the folded edge I make sure the measurement from the fold to the top and bottom of the grainline is the same on each pattern piece. That way I know I’m cutting my fabric correct to the grain
Until now I’ve never had the space to use a rotary blade and always used shears. I did invest in a full tabletop self-healing mat for my new workbench though. More to protect my table from my tracing wheel and drill hole so I might have to give it a try next.
Reuse, Recycle, Repeat…..
I am always toiling. For Homer and Howells, for work, for myself. I don’t want to cut into the good stuff until I know the fit is right. I also don’t like waste so always make sure I make the most of my fabrics. Any large scraps I put aside for the next project. Small scraps I save and pass onto my kids’ primary school and nursery for craft projects.
Anything that’s too small to be used goes to Oxfam for textile recycling along with any worn-out clothes I have.
Then all paper and card scraps that can’t be used are recycled too.

Small scraps all set for textile recycling
Sewing Space
I have a lovely little corner where my sewing machine and overlocker live. I’ve just got one chair. I move it around to whatever machine I’m using. My threads are in a basket on my wall hanger or in a drawer under my desk. I like everything to be in easy reach while I’m sewing. Then my iron board and steam iron are at the end of my sewing table. It makes it so much easier and efficient having everything set up together and having trims close at hand.

Sewing corner. I like to have everything close at hand. All trims and threads in the drawers under my desk and needles, machine feet and bobbins in my tool box behind my machine.
Everything Deserves A Place
I’m still moving things around but I’m pretty happy. I have my fabric stash on shelves; card patterns, graded card pattern and garments hanging on a garment rail and all trims in a set of drawers under my sewing machine.
I also have a large archive of paper patterns and drafts which I keep on a shelf or in a large storage box under my workbench

Samples, pre washed fabrics and pattern grades and blocks
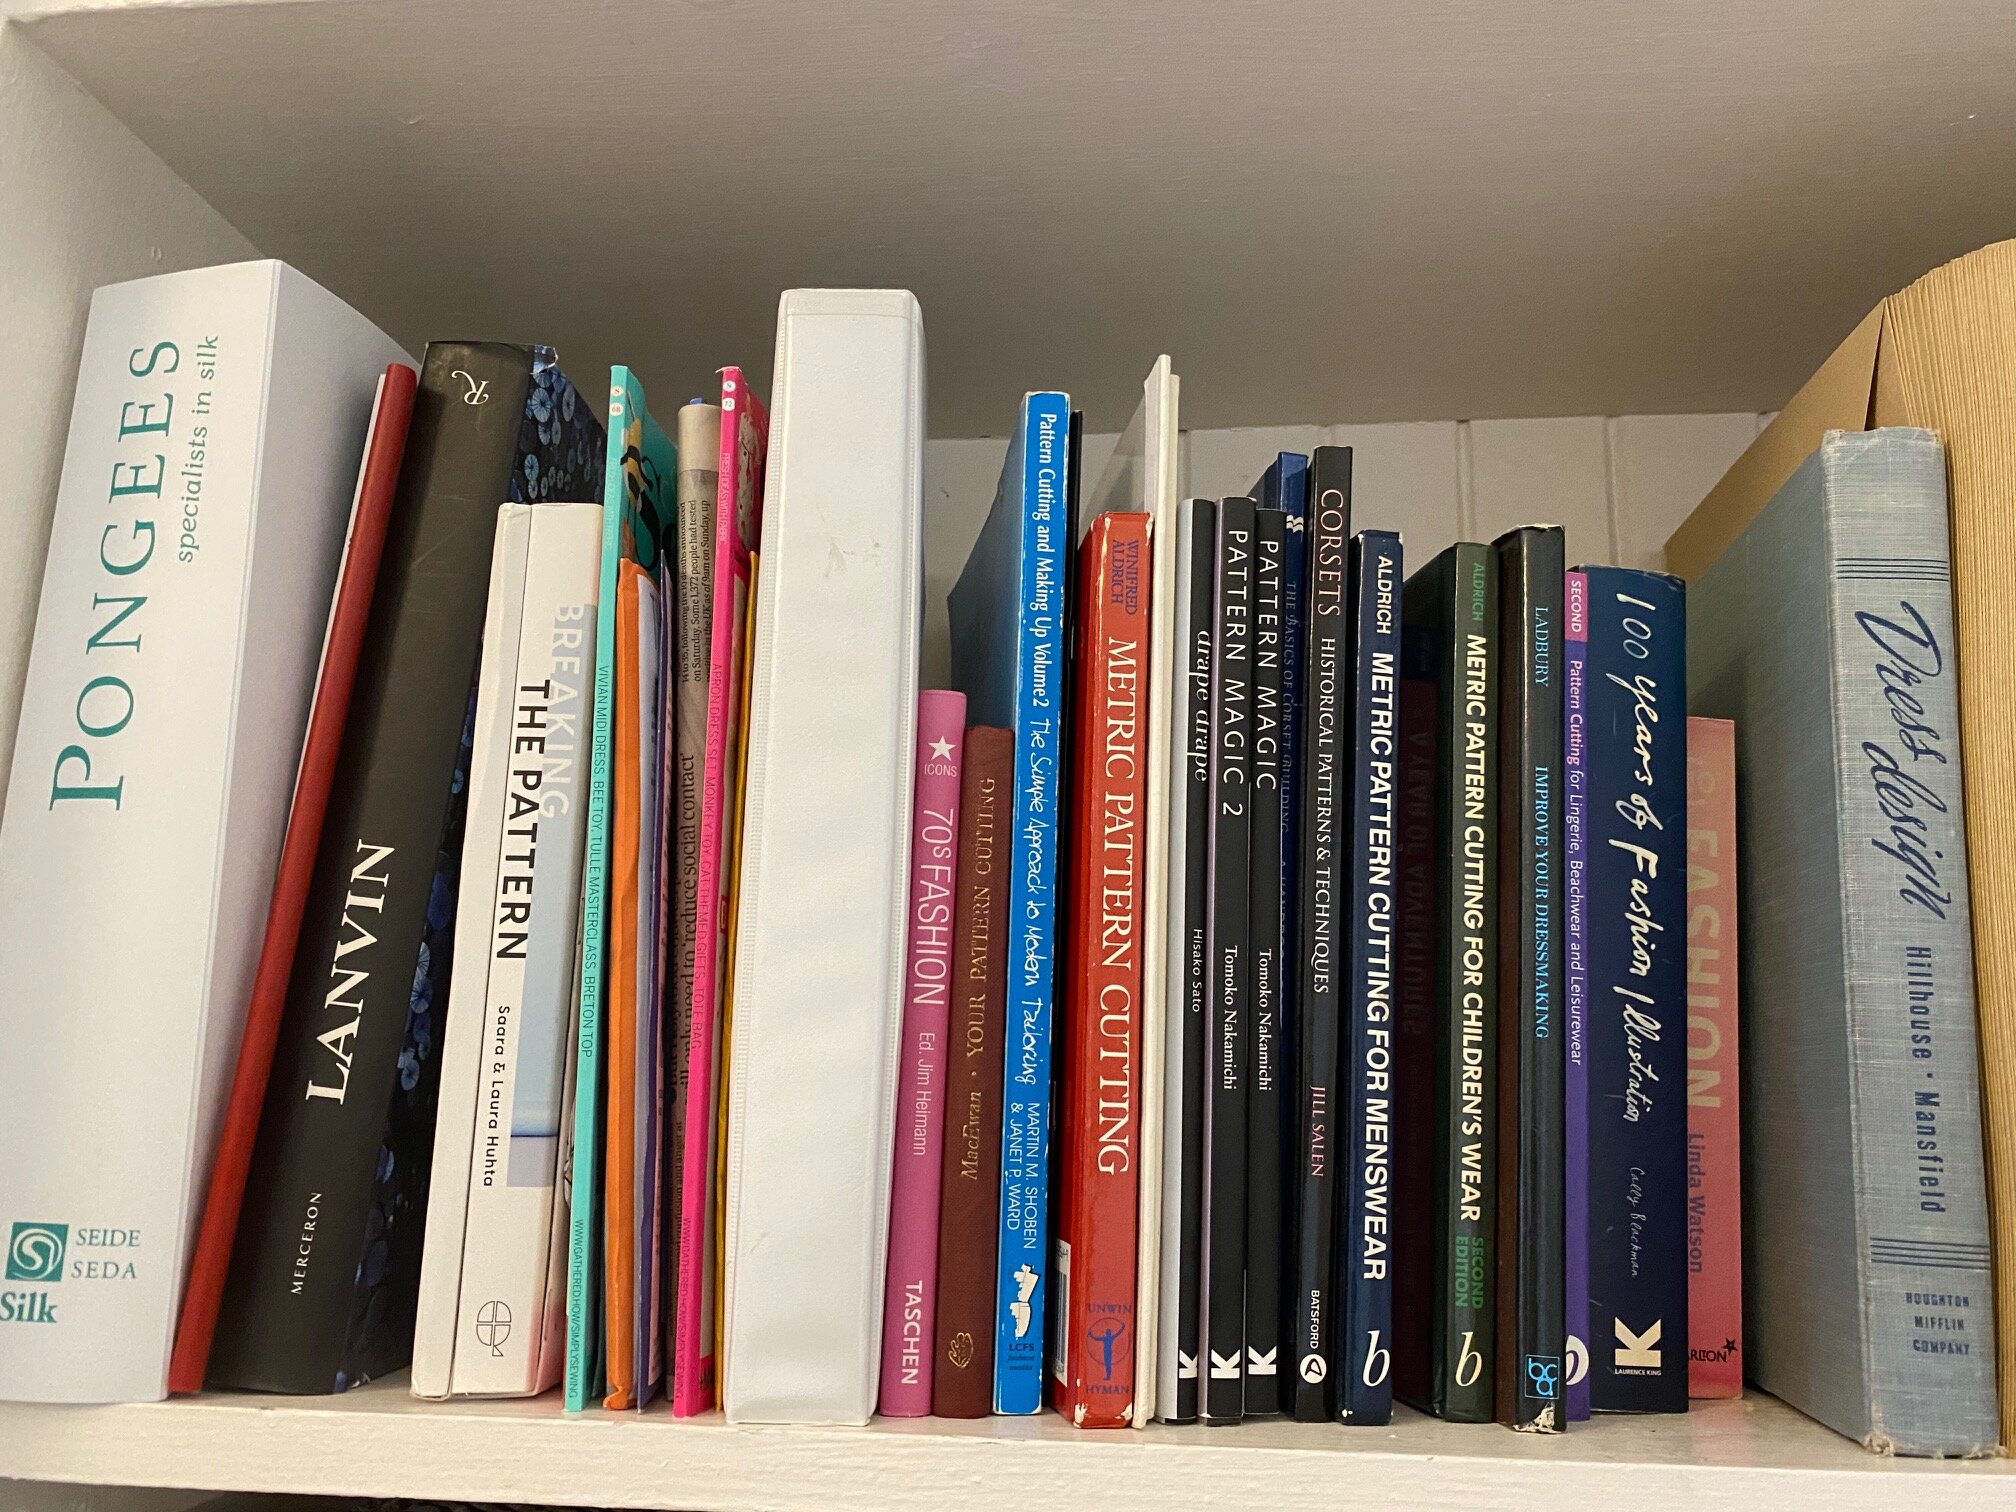
Pattern books and sewing magazines…. the 40’s one at the end has the most amazing styles and techniques

My personal sewing stash which I’m really trying to keep under control
Hopefully you’ve found some interesting bits in here to help make your sewing space work better for you too.
Susan x